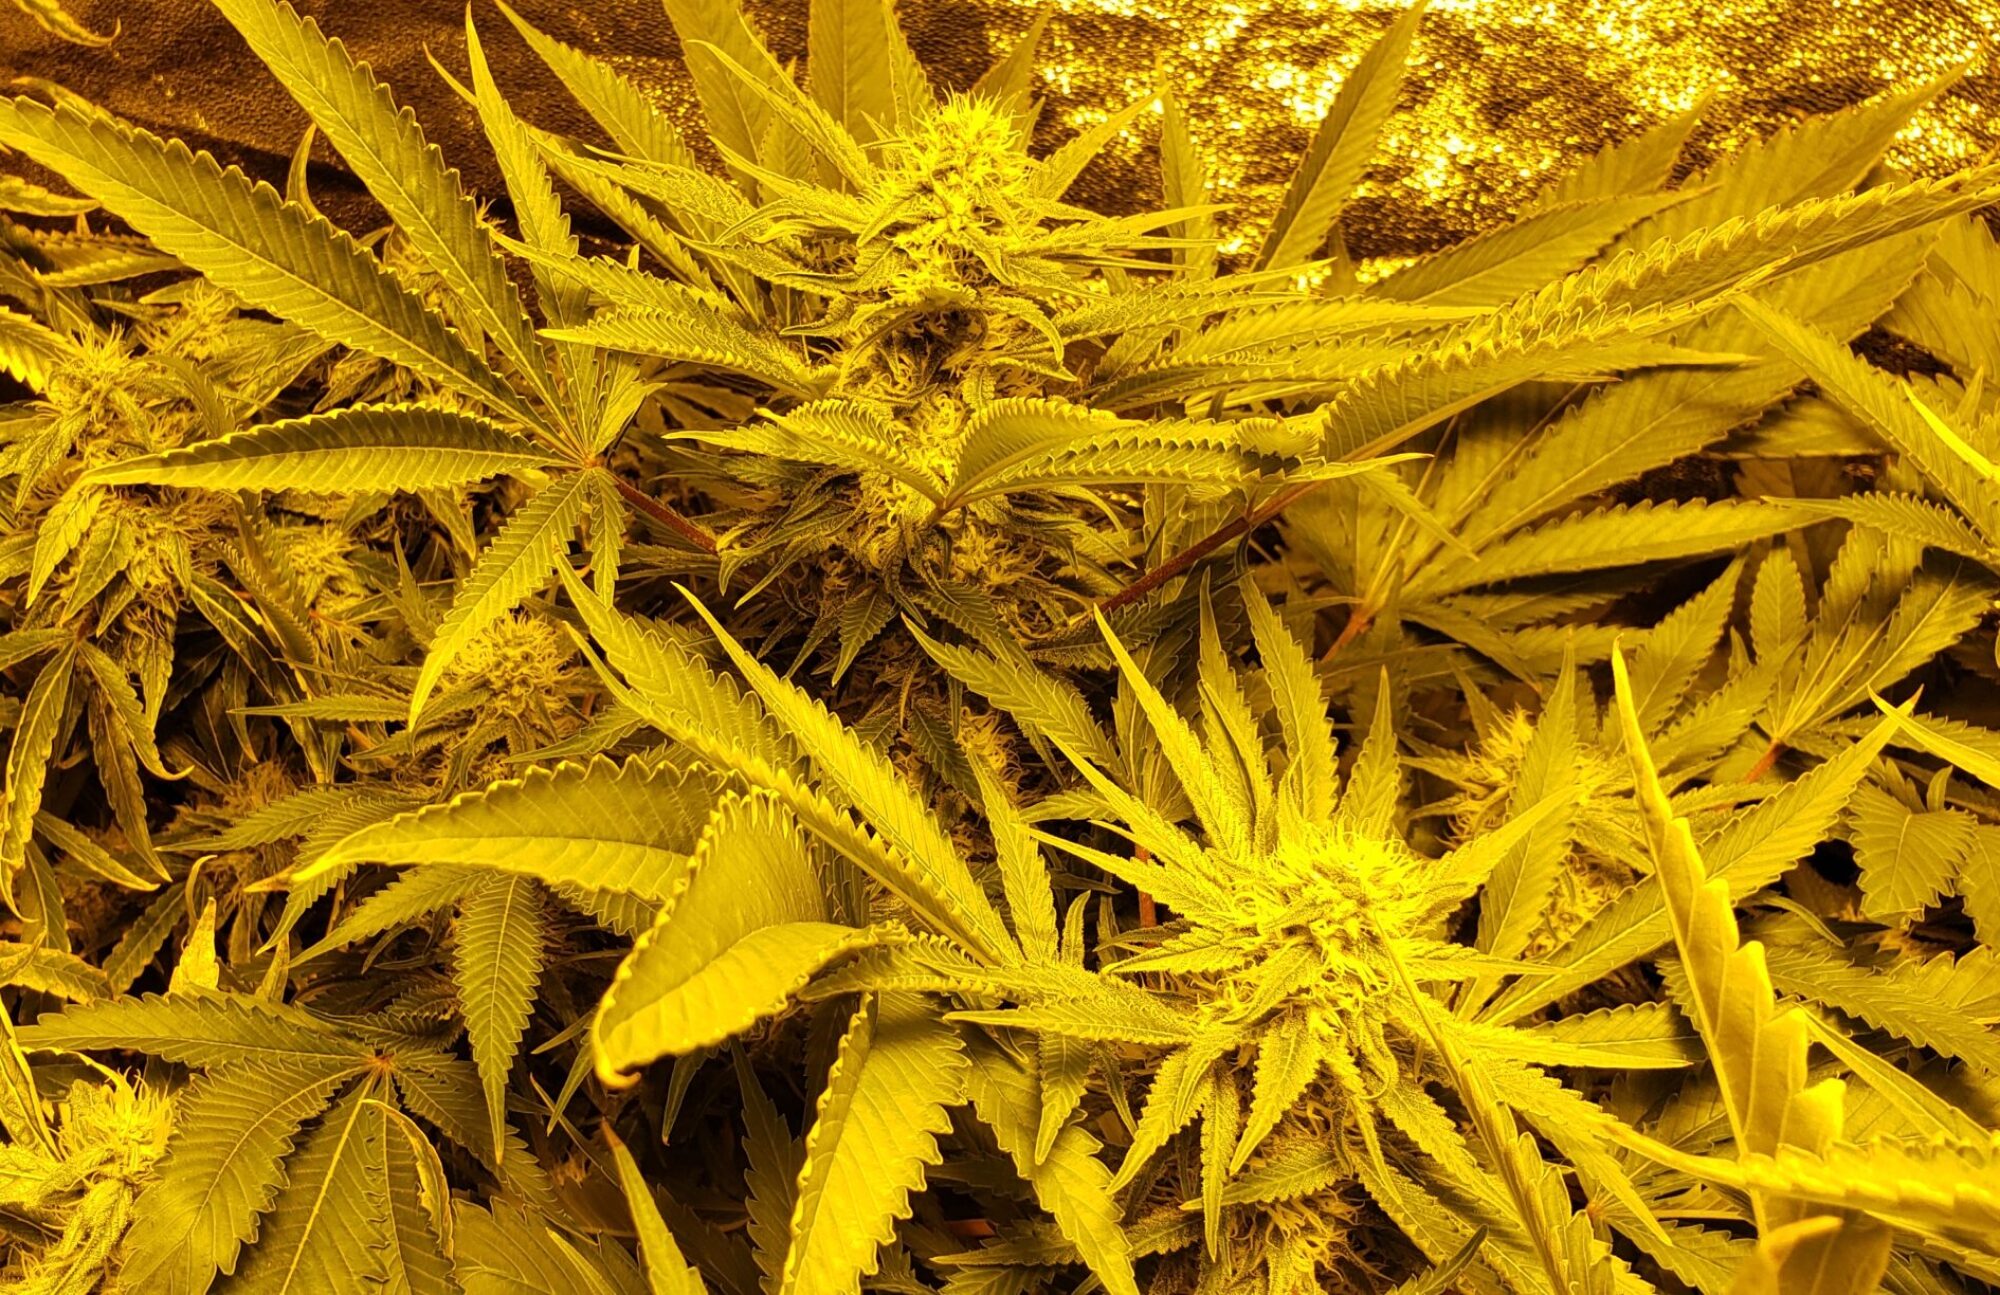
Our basic, “keep it simple” process.
We will go over each part of this in more detail in upcoming blog posts. Here’s an overview to give you an idea of what’s involved.
1. Get a plant started from either cutting or seed. The plant needs no food or fertilizer at the beginning.
2. After 2-4 weeks, transplant into a hydroponics planter with a diluted nutrient solution. We recommend half as much nutrient in the same amount of water for the first two weeks. You can also increase the strength of light provided (if you’re not using natural sunlight). The light should be on the plant at least 16 hours a day, up to 24 hours.
3. The plant will begin vigorous “vegetative” growth. Every 2 weeks, for the next 1-2 months, (depending on how large you want your plants to get) change out the hydroponics nutrient solution with fresh, “full strength” solution.
4. When the plant is slightly smaller than you want it to be when you harvest it, prune the plant lightly, cutting off smaller, lower branches that won’t get much light. This is a great time to take cuttings/clones for your next grow and to share with your friends.
5a. Start the “blooming phase”. After pruning, change the time the plant is in the light to only 12 hours. This signals the plant that it’s time to start flowering/blooming (making the buds and THC). It will continue to grow a little bit more in height as it makes it’s transition to the blooming phase.
5b. Some people prefer to change the kind of light being provided to the plant at this time (a more red/yellow light for blooming). Is that absolutely necessary? We will discuss this in a future blog post.
5c. Some people also prefer to change the nutrients they use at this time, switching to a “blooming nutrient blend” instead of a “vegging” or “growth nutrient blend”. If you want to keep things really simple, we recommend using the same nutrient for both. We’ll discuss this in a future blog post.
6. Every 2 weeks, for the next 1-3 months, (depending on how long your variety takes to bloom), replace the nutrient solution with fresh.
7. As the buds get close to being ready to harvest, their appearance will change. When you notice they are close, you may cut sample buds to try out before the final harvest. “Quick drying” in a microwave oven is a common way to get a sample without the wait.
8. Some believe that it is good to “flush” the nutrients from the plants for a number of days before harvesting. We typically replace the hydroponics solution with plain water 4 days before harvest.
9. Begin cutting branches from the plant. Trim the leaves off the buds and hang them to dry. You don’t have to harvest the plant all at once. We like to cut the top branches first, often leaving the lower branches for a day or two later.
10. Check the dryness of the branches daily after the first couple of days. When the buds feel a bit crispy on the outside and a branch stops being flexible and “snaps” a bit when you bend it, take the buds off and place into jars.
11. Each day, open the jars to let the bud “breathe” a bit – releasing moisture slowly, day by day, allows the buds to “cure”. That is, the chlorophyll can break down by the natural enzymes in the plant. If the buds appear to be wet, and/or smell like hay, you may need to leave the jar open for a longer period of time. Too much moisture sealed in a jar can cause mold to grow.
12. Some claim that proper curing requires up to 6 weeks before smoking the bud. We think you should try your bud as often as you want. See for yourself, whether or not the potency, flavor and high get better the longer it cures.
